DIY: Atrapa Sueños

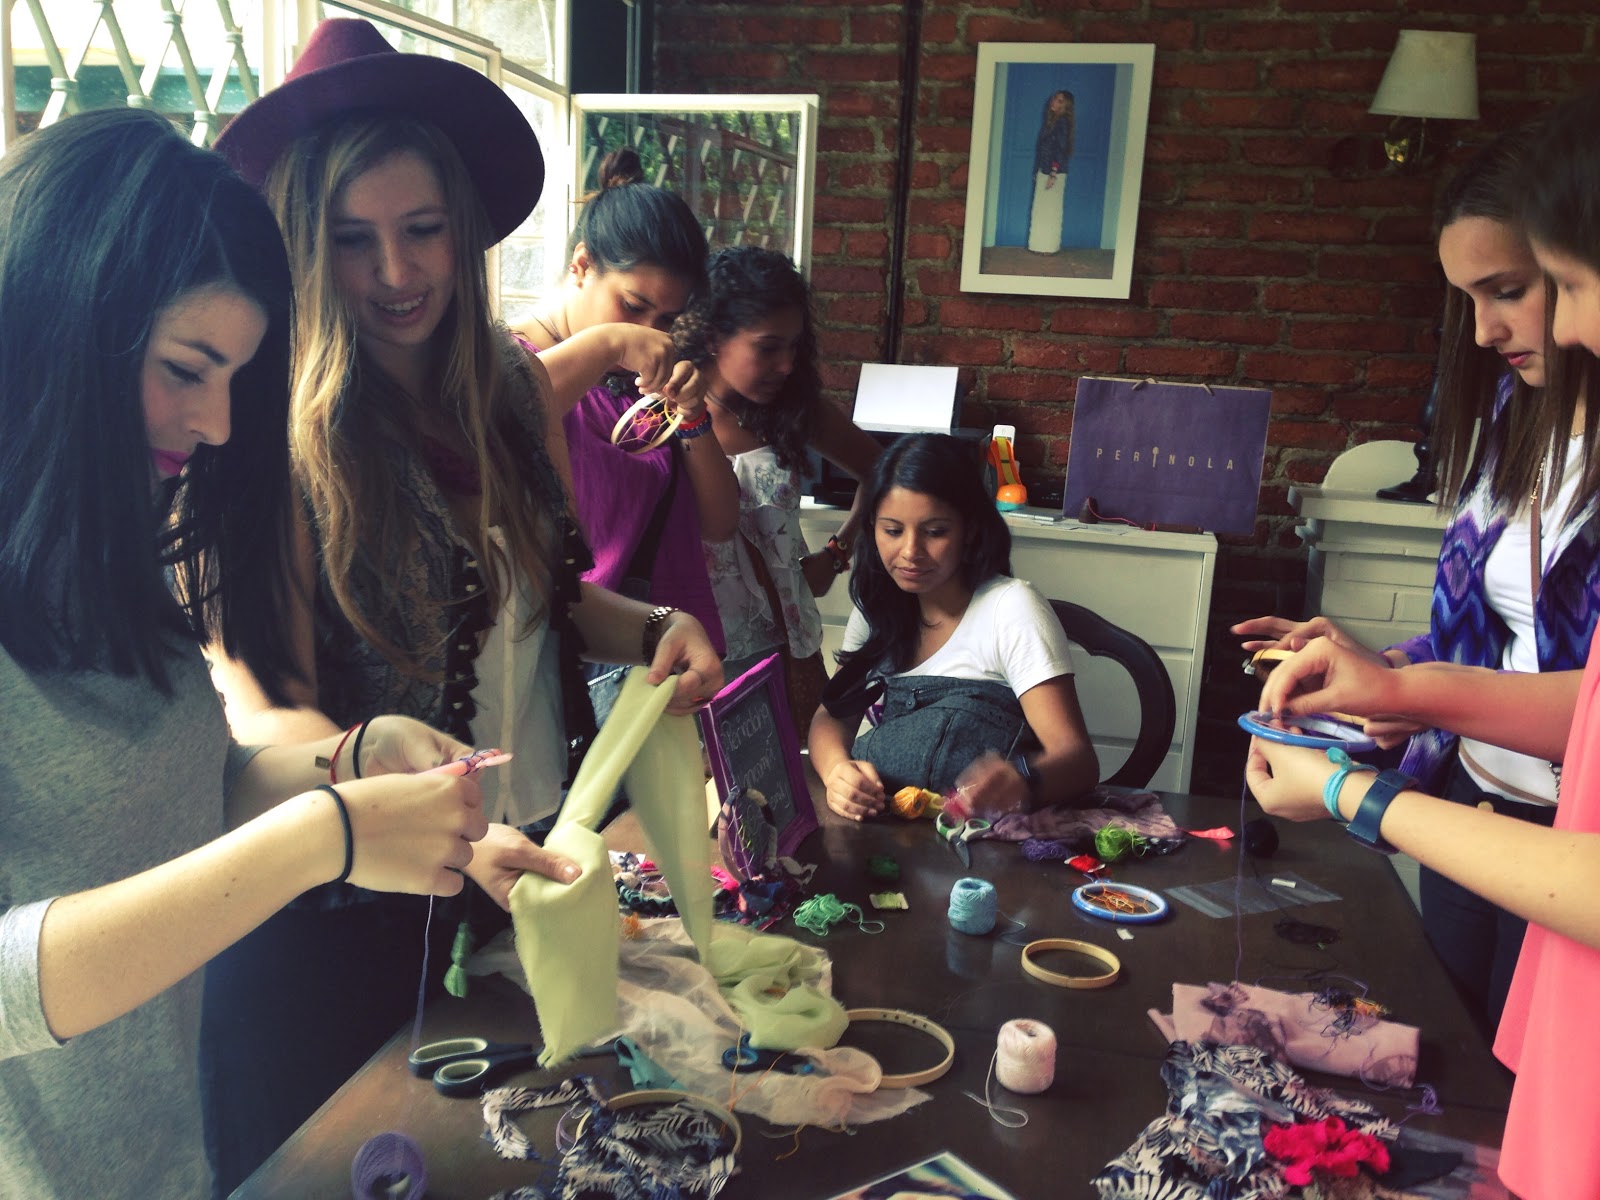
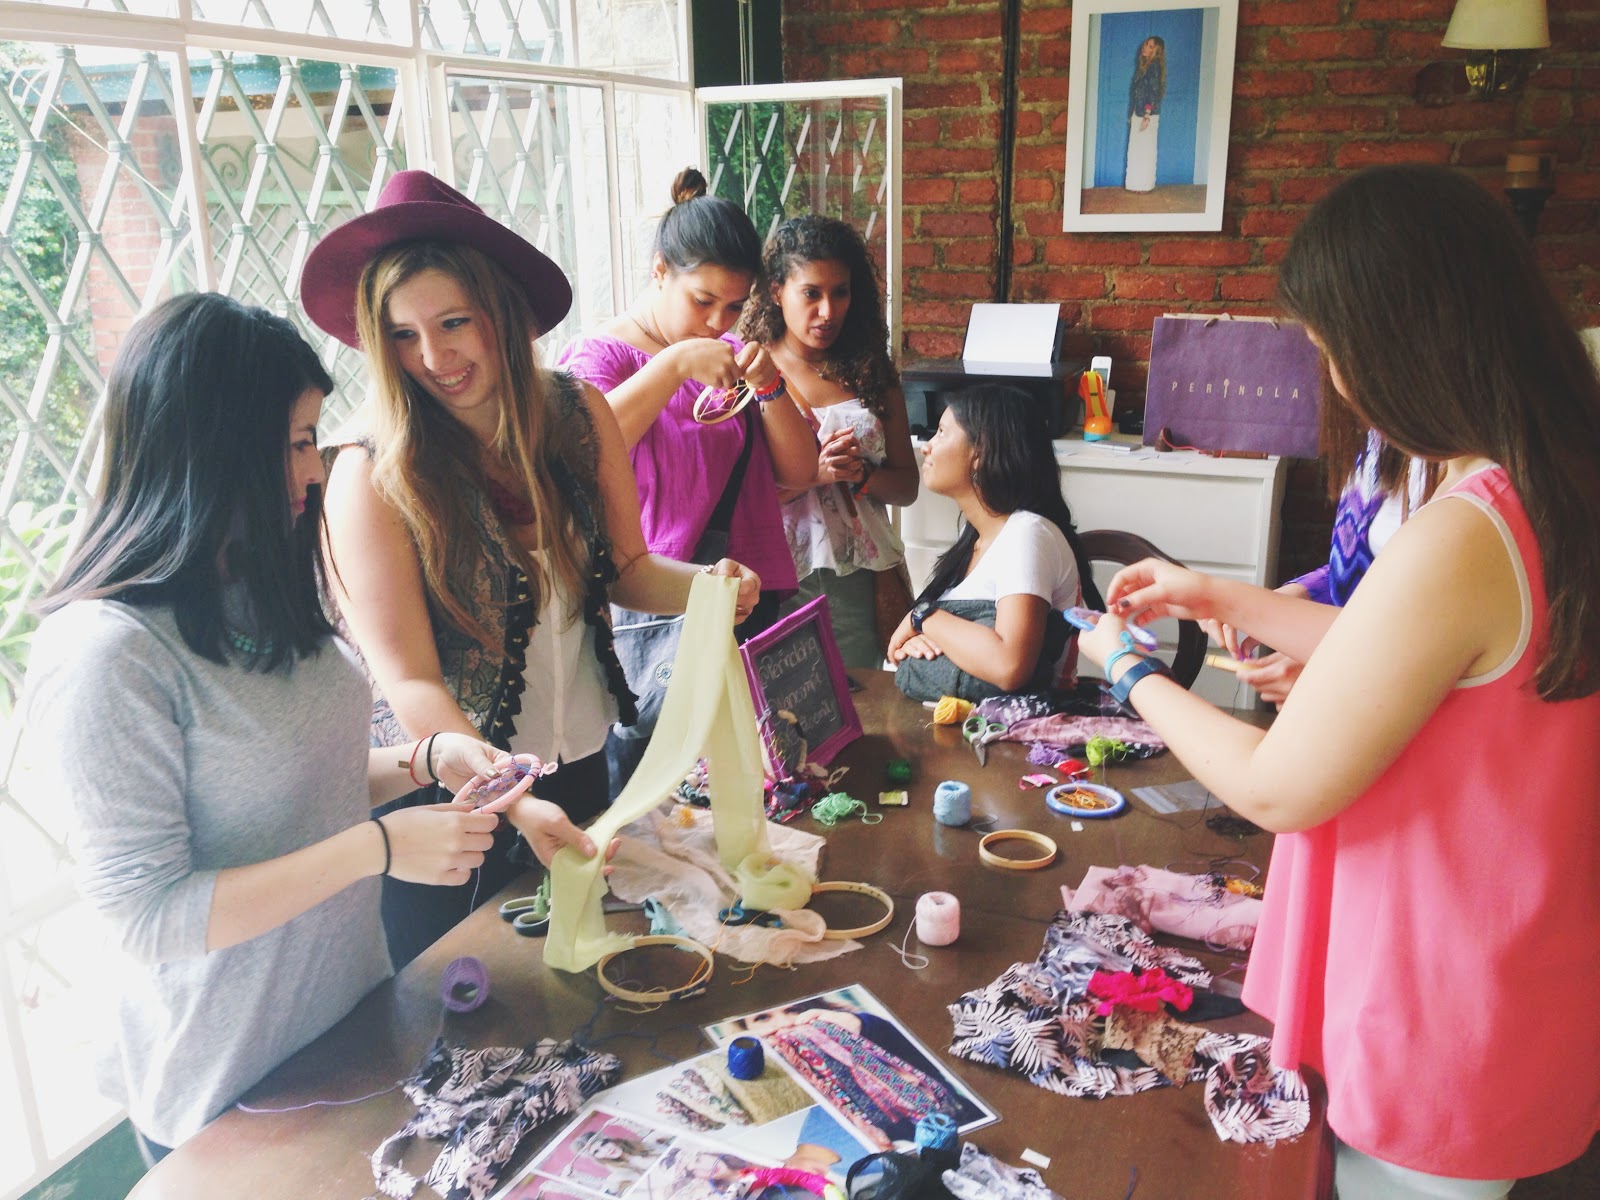
Para quienes vivimos en una búsqueda constante de alcanzar nuestras metas y sueños es importante enfocarnos en ellos para lograrlos. Hoy les traigo un paso a paso para crear una herramienta que mantendrá nuestros sueños y metas en nuestro horizonte y nos recordará hacia donde queremos ir. Los atrapa sueños son esos pequeños detalles que más que un adorno, nos recuerda qué es lo que queremos. Esta actividad la realizamos en los famosos sábados de retazo de Perinola en donde podrán encontrar parte del material que necesitan para crearlo. Durante el evento pude compartir con muchas Perinola Lovers, que al igual que yo, apoyan al talento nacional y quieren ir más allá de lo cotidiano.
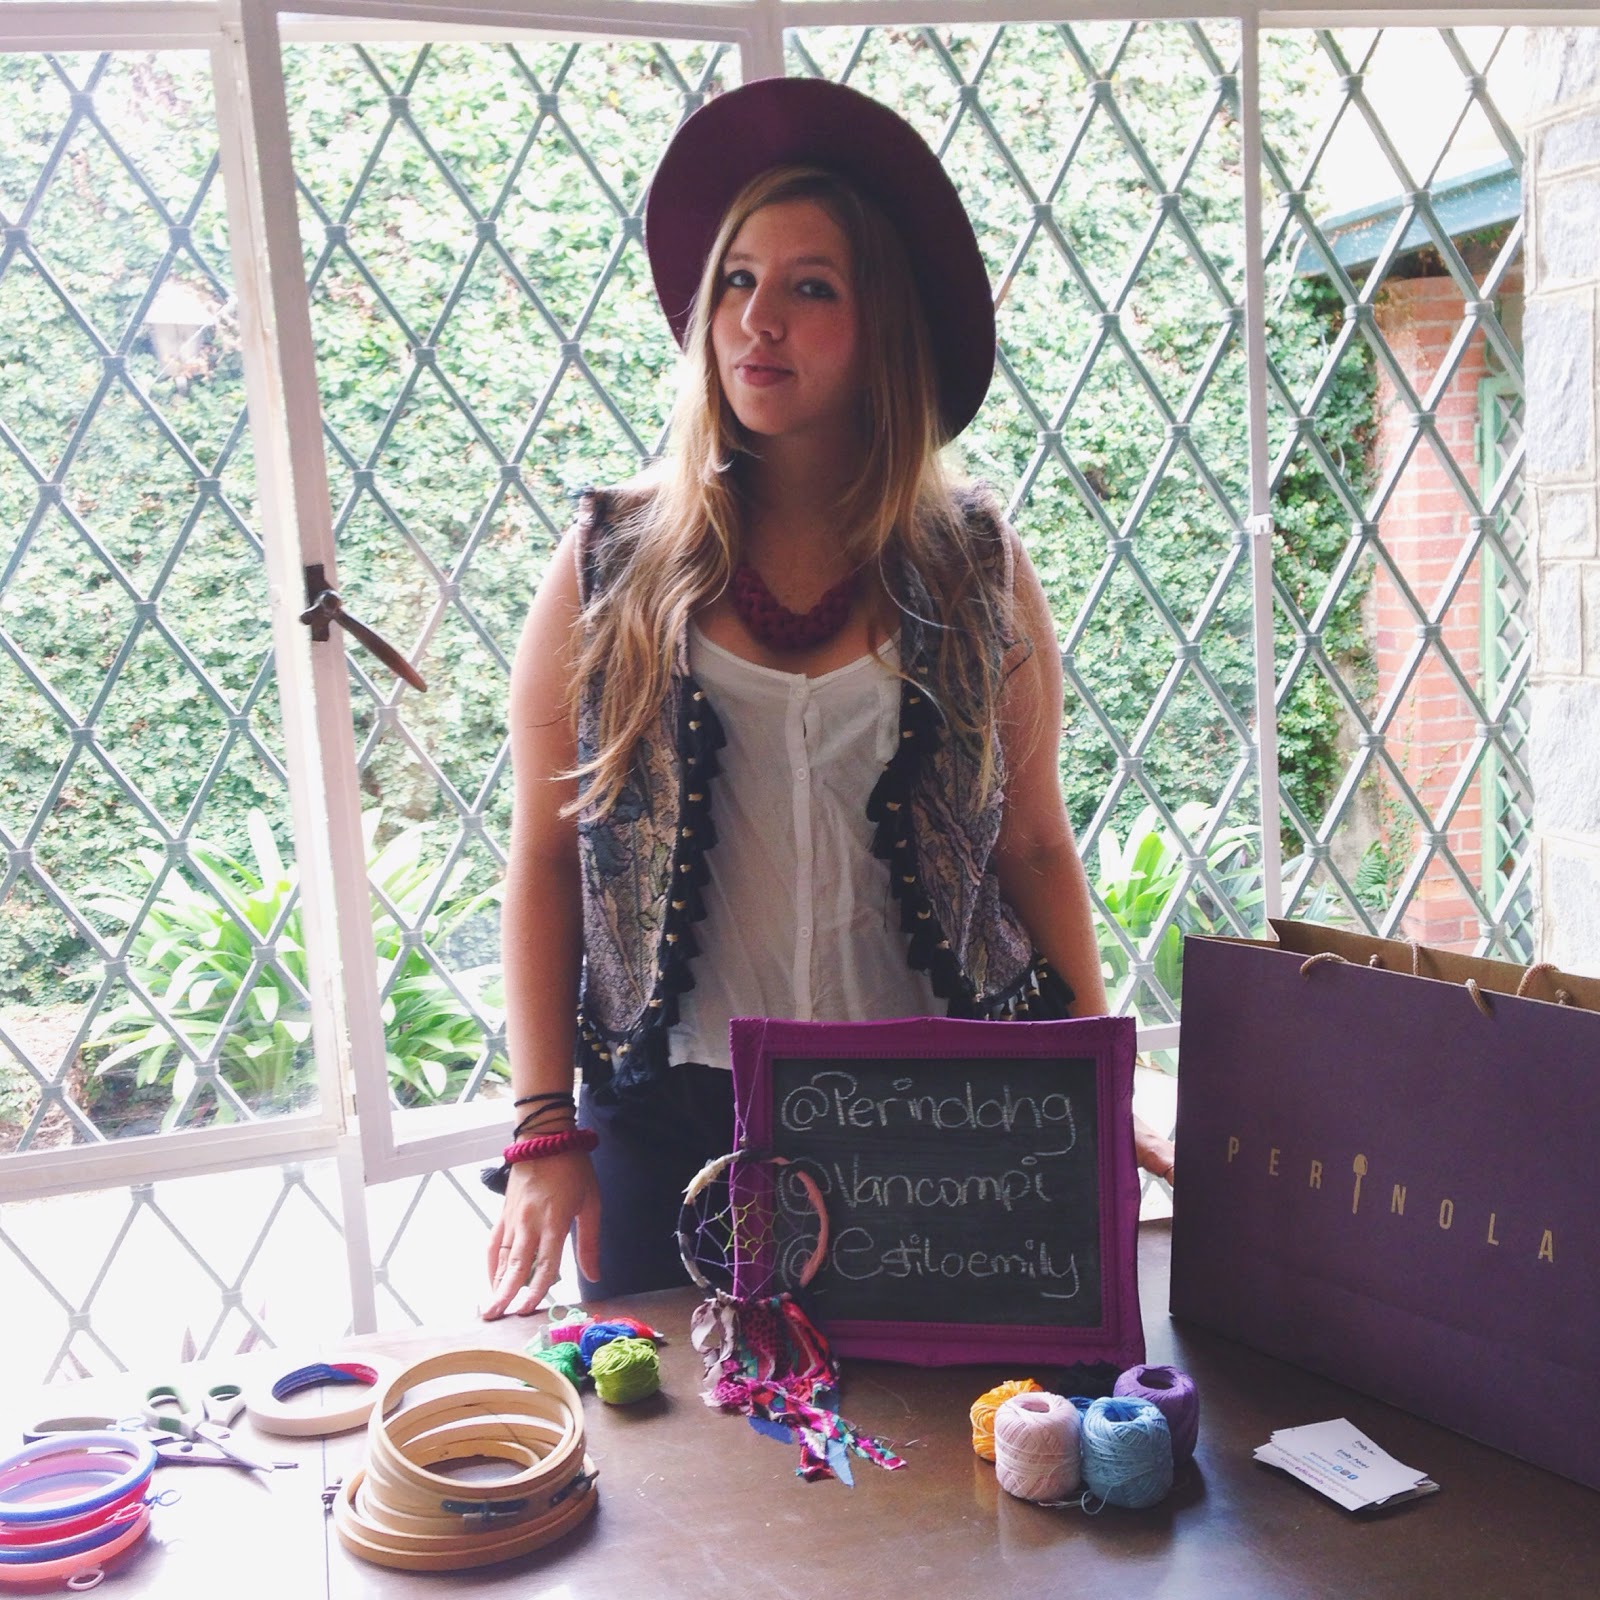
A continuación, podrán encontrar el tutorial para crear tu propio atrapa sueños. Además, podrán encontrar algunas fotos del evento "Sábado de retazos: Crea tu atrapa sueños" en Perinola en donde trabajé de la mano con su diseñadora Helena Gil y la blogger Emily Pérez, quien capturó esta tarde maravillosa con sus fotografías.

DIY: DREAM CATCHER
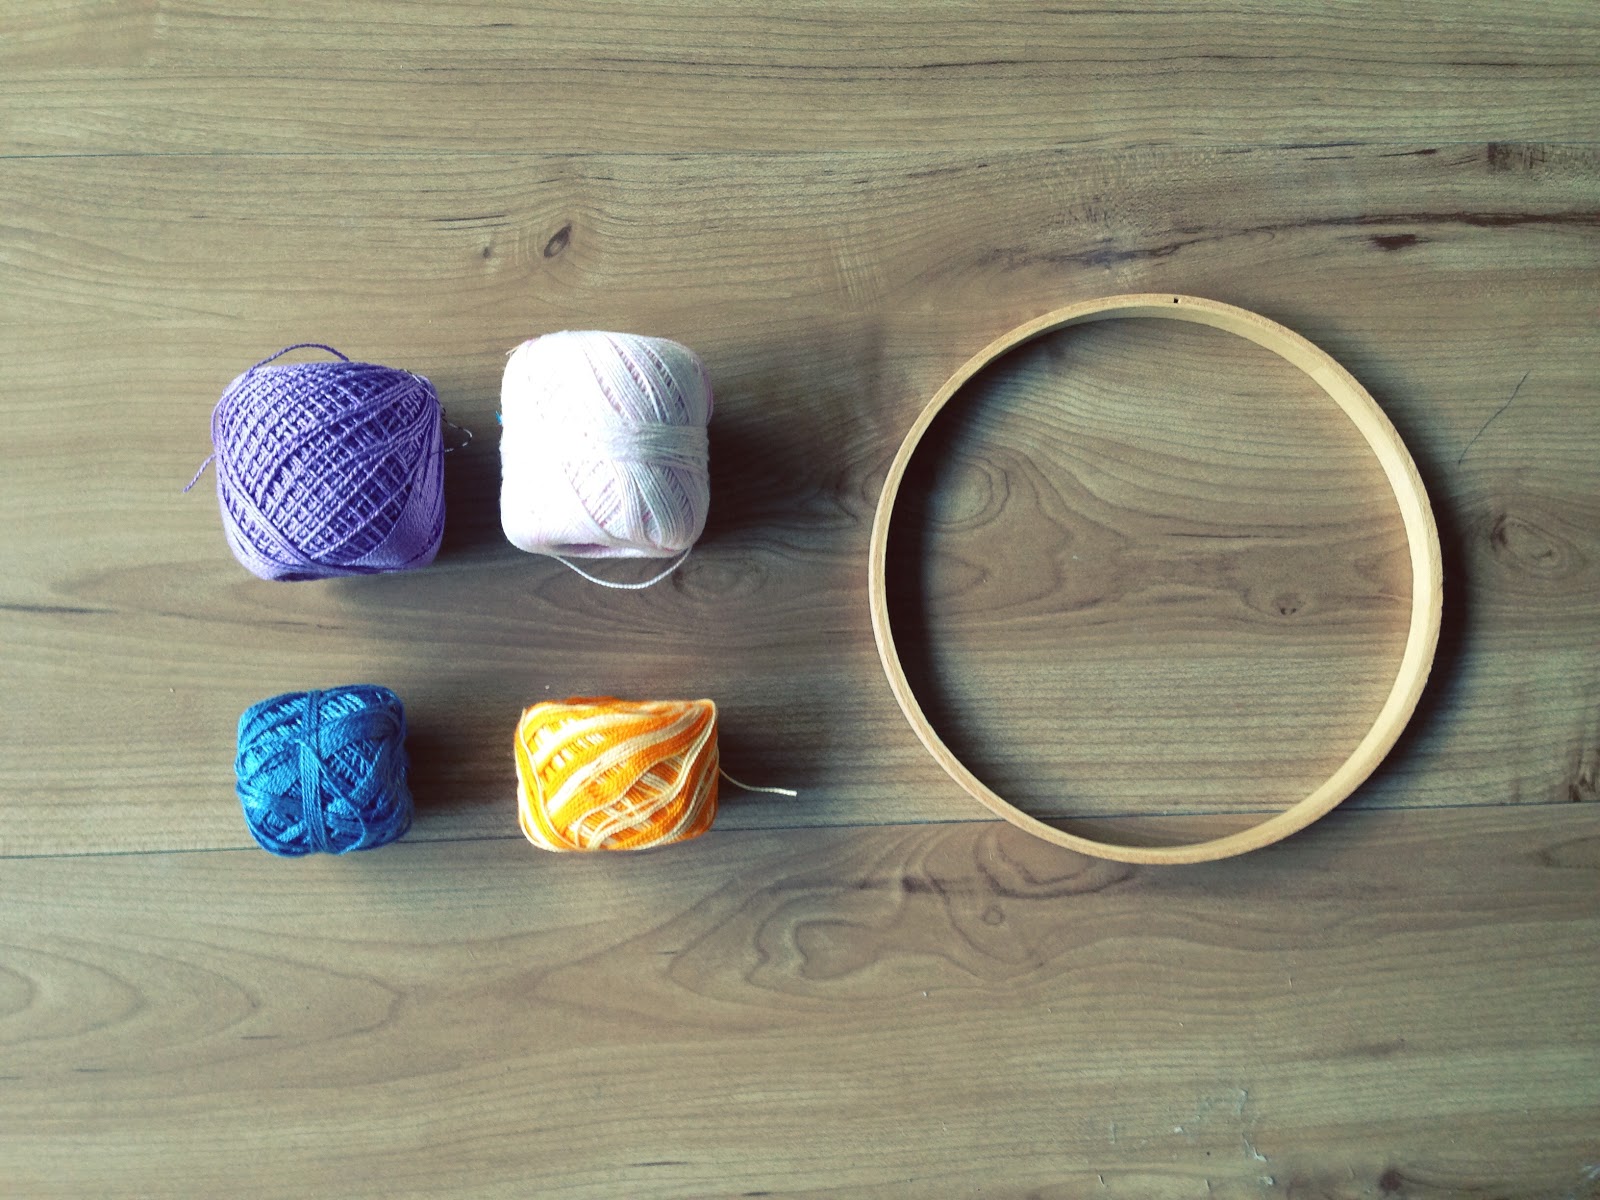
Materiales

-Círculo de madera o plástico.
-Tela
-Hilo
-Tijera
-Teipe
Pasos
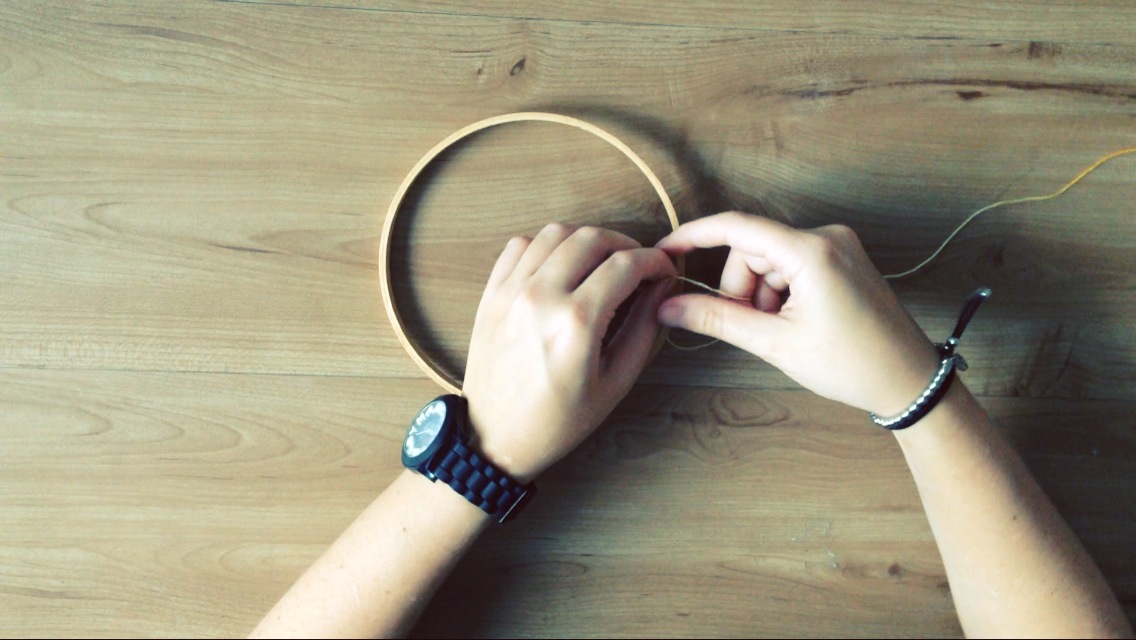
1. Selecciona el hilo que deseas utilizar y corta 3 metros.
2. Amarra un nudo en un lado del círculo para asegurar el hilo.
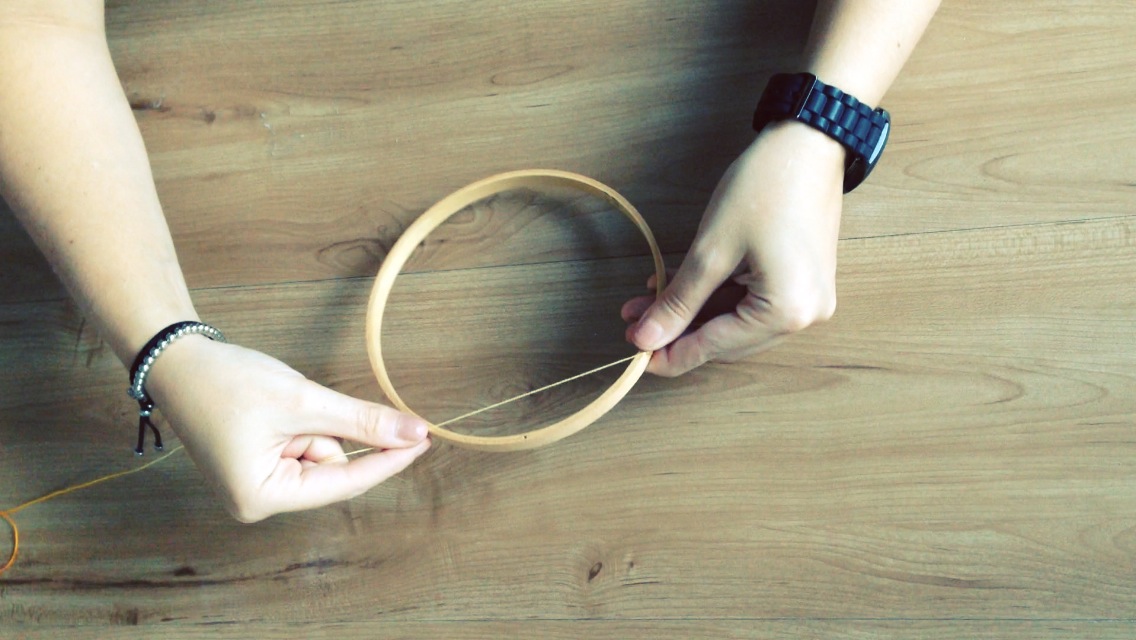
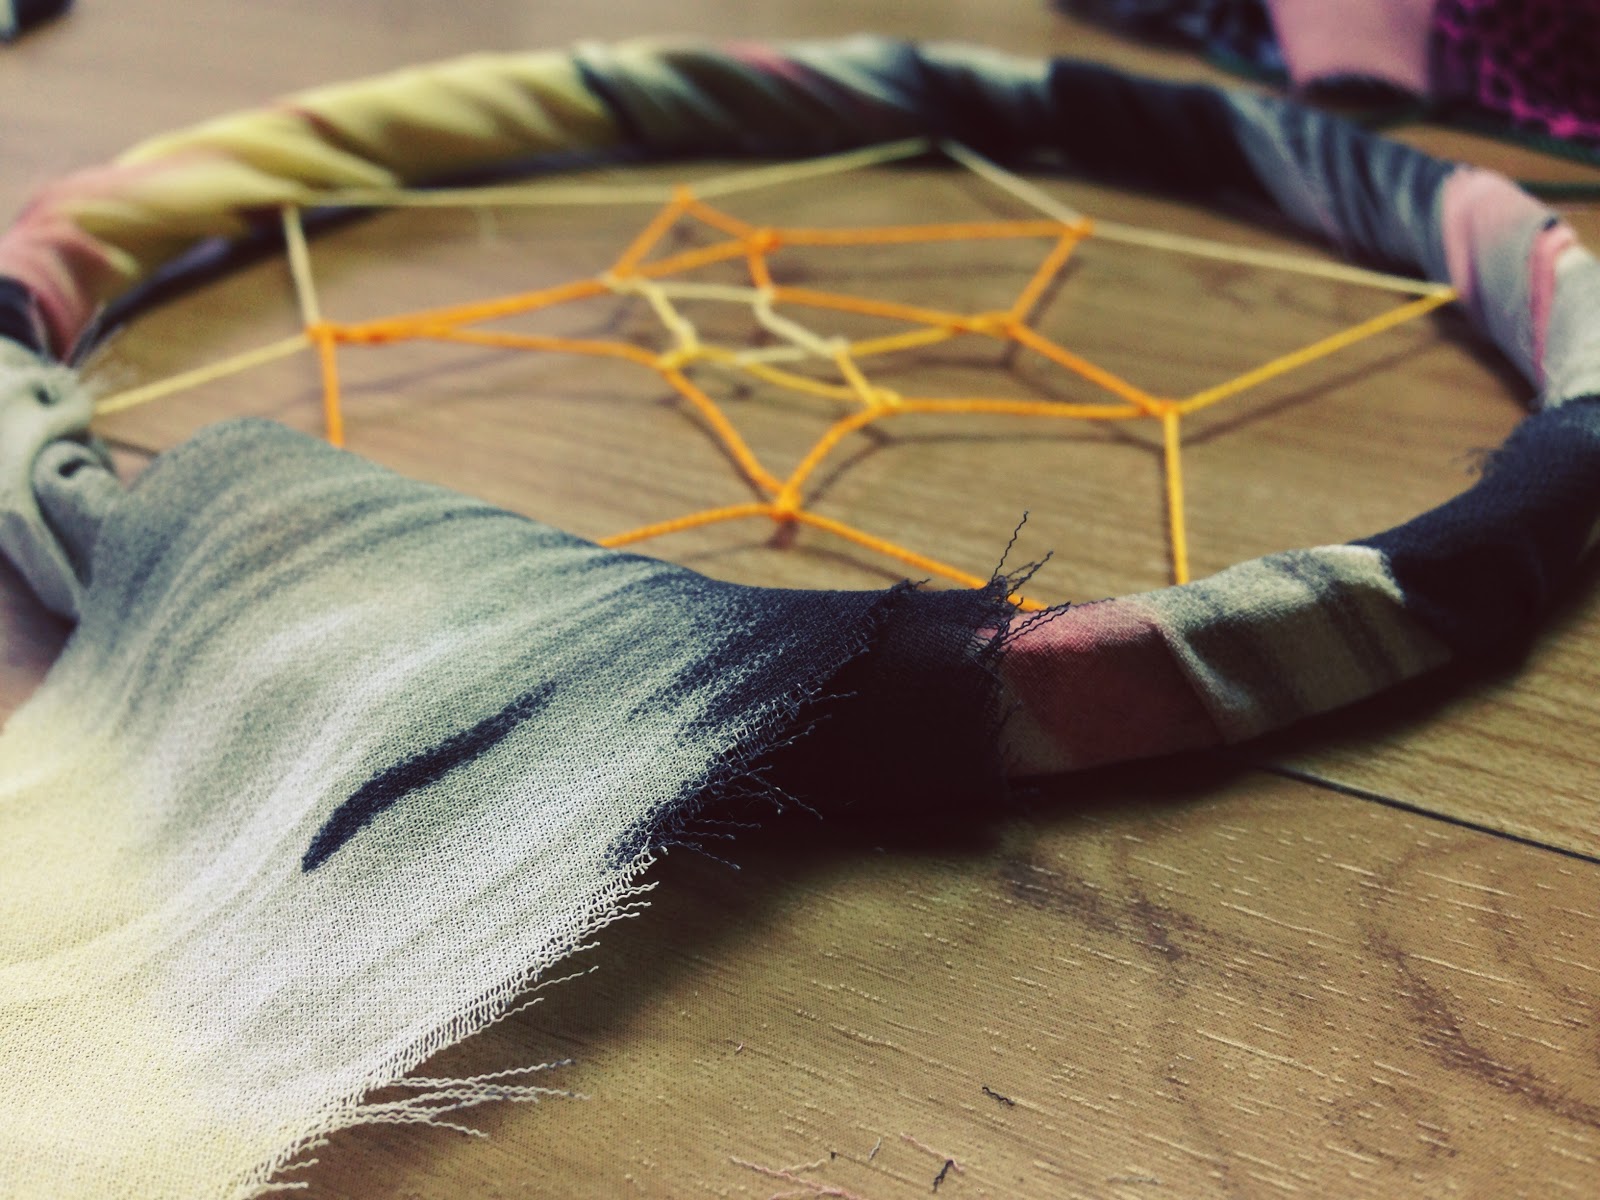
3. Comienza tejiendo el atrapa sueños llevando el hilo por arriba hasta 1/4 del círculo y pasa el hilo por debajo. Continúa así hasta crear una especie de estrella.

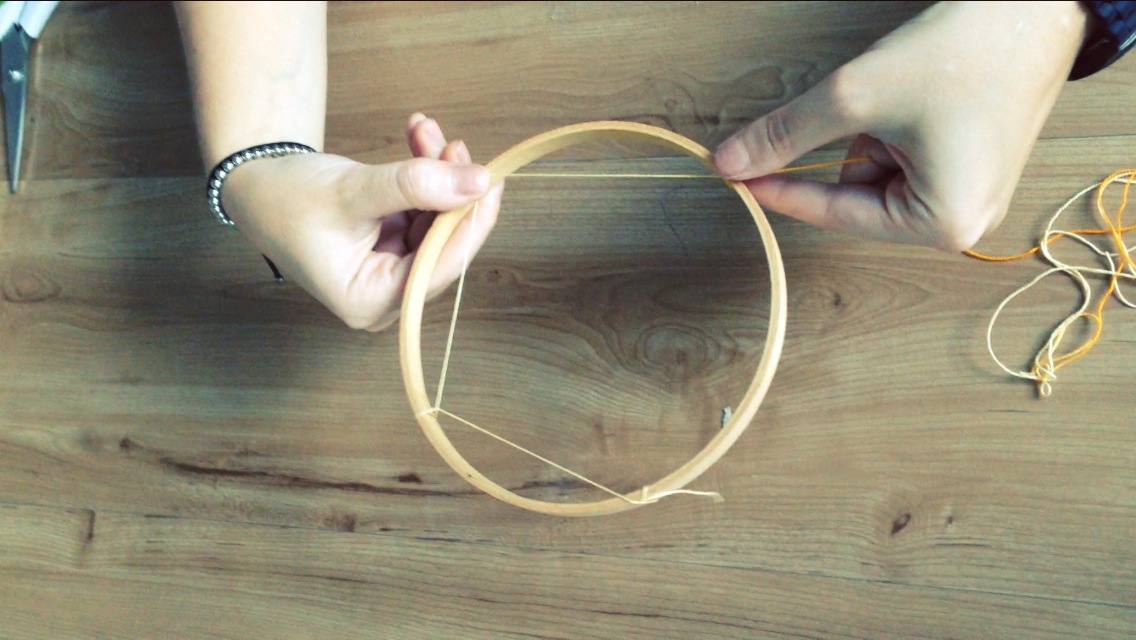
4. Una vez creado el primer nivel pasa el hilo por debajo del primer tejido hecho y luego pasa el hilo por el espacio izquierdo. Repite el mismo procedimiento hasta completar todos los niveles.

5. Selecciona la tela que quieras usar. Pega el extremo con el teipe y luego dale vueltas por todo el círculo. Pega el final.

6. Amarra algunos retazos en la parte de abajo del círculo para crear la cola y un hilo por la parte superior para crear el sujetador.

Comparte y disfruta una tarde con tus amigas, hermanas o familia y etiqueta tus fotos en Instagram bajo el Hashtag #DIYRetazosPerinola.
Recuerden que la más que un estilo de vida, es un sueño.


Gracias a esta linda seguidora, Adri Toro, por este detalle tan especial.

_____________________________________________________________________________
For those who live in a constant quest to achieve goals and dreams is important to focus on them to achieve them. Today, I bring you DIY to create a tool that will keep our dreams and goals in our horizon and remind us where we want to go. The dream catcher is one of those small details that more than an ornament reminds us what we want. This activity was performed in the famous event of Perinola Fabrics scraps where you can find some of the material needed to create it. During the event, I was able to share with many Perinola Lovers, who like me, support the local talent and want to go beyond the everyday.
Today I will share with you the step by step tutorial and some photos of the event "Create a dream catcher" in Perinola where I worked hand by hand with the designer, Helena Gil, and blogger, Emily Perez, who captured this wonderful evening with her pictures.
DIY: DREAM CATCHER
Materials
-Circle of wood or plastic.
-Fabric
-Thread
-Scissors
-Glue
Steps
1. Choose the thread that you want to use and cut it 3 meters.
2. Tie a knot on one side of the circle to secure the thread.
3. Begins weaving the dream catcher bringing the thread up to 1/4 of the circle and pass the thread under. Continue until you create a kind of star.
4. Having created the first level, pass the thread below the first wire fabric made and then pass the thread through the space on the left. Repeat the same procedure until all levels.
5. Choose the fabric you want to use. Tape the end and then turns around the circle. Paste the end.
6. Tie some pieces in the bottom of the circle to create the tail and thread through the top.
Share and enjoy an evening with your friends, sisters, family and tag your photos on Instagram under the hashtag # DIYRetazosPerinola.
Remember that more than a lifestyle, it's a dream.


Comentarios
Publicar un comentario